A room painted well comes down to four things: thorough prep, a coat of primer where the wall needs one, two coats of good paint applied with a wet edge, and patient taping and cutting along the edges. Most of the visible difference between a pro-looking room and an obvious DIY job is decided before the first roller stroke, in the patching, sanding, and cleaning.
A typical bedroom is a full weekend for a beginner: one day for prep and primer, one for finish coats. The steps below follow the order that works.
Check the house age before you sand or scrape
If your home was built before 1978, the existing paint may contain lead. The EPA reports that lead-based paint is still present in many homes from that era, and sanding or scraping it creates dust that is especially harmful to young children and pregnant women. Contractors who disturb paint in pre-1978 homes must be lead-safe certified and use specific work practices, and the EPA lists dry sanding among the practices it does not allow for them. Homeowners are wise to follow the same approach: use wet methods, keep dust down, and do not dry-sand or scrape paint that might contain lead.
Hardware-store test kits exist, but the EPA’s recognition of particular kits applies only to use by certified renovators. A certified lead inspector or risk assessor gives the dependable answer. If lead is present, hire a lead-safe certified renovator for the work. The EPA also publishes lead-safe renovation guidance aimed at do-it-yourselfers, and local health departments can tell you about rules in your area.
Also keep the room ventilated. Open windows, run a box fan pointed outward, and use the right respirator for the product. A paper dust mask or N95 stops particles but does not protect against paint or solvent vapors, which call for a half-mask respirator with organic vapor cartridges and particulate filters. Even low-odor latex paint is better applied with fresh air moving through.
Gather the right supplies
You do not need a lot of gear, but a few items make a visible difference.
- Paint: A 1-gallon can covers roughly 350 to 400 square feet on a smooth wall (the can states its own figure). A typical bedroom needs 1 to 2 gallons for two coats. Cheaper lines tend to need more coats, so the lowest price is not always the lowest cost.
- Primer: Needed for bare drywall, patched areas, stains, and big color changes.
- Roller and cover: A 9-inch roller frame with a 3/8-inch nap cover for smooth walls, or 1/2-inch nap for lightly textured ones.
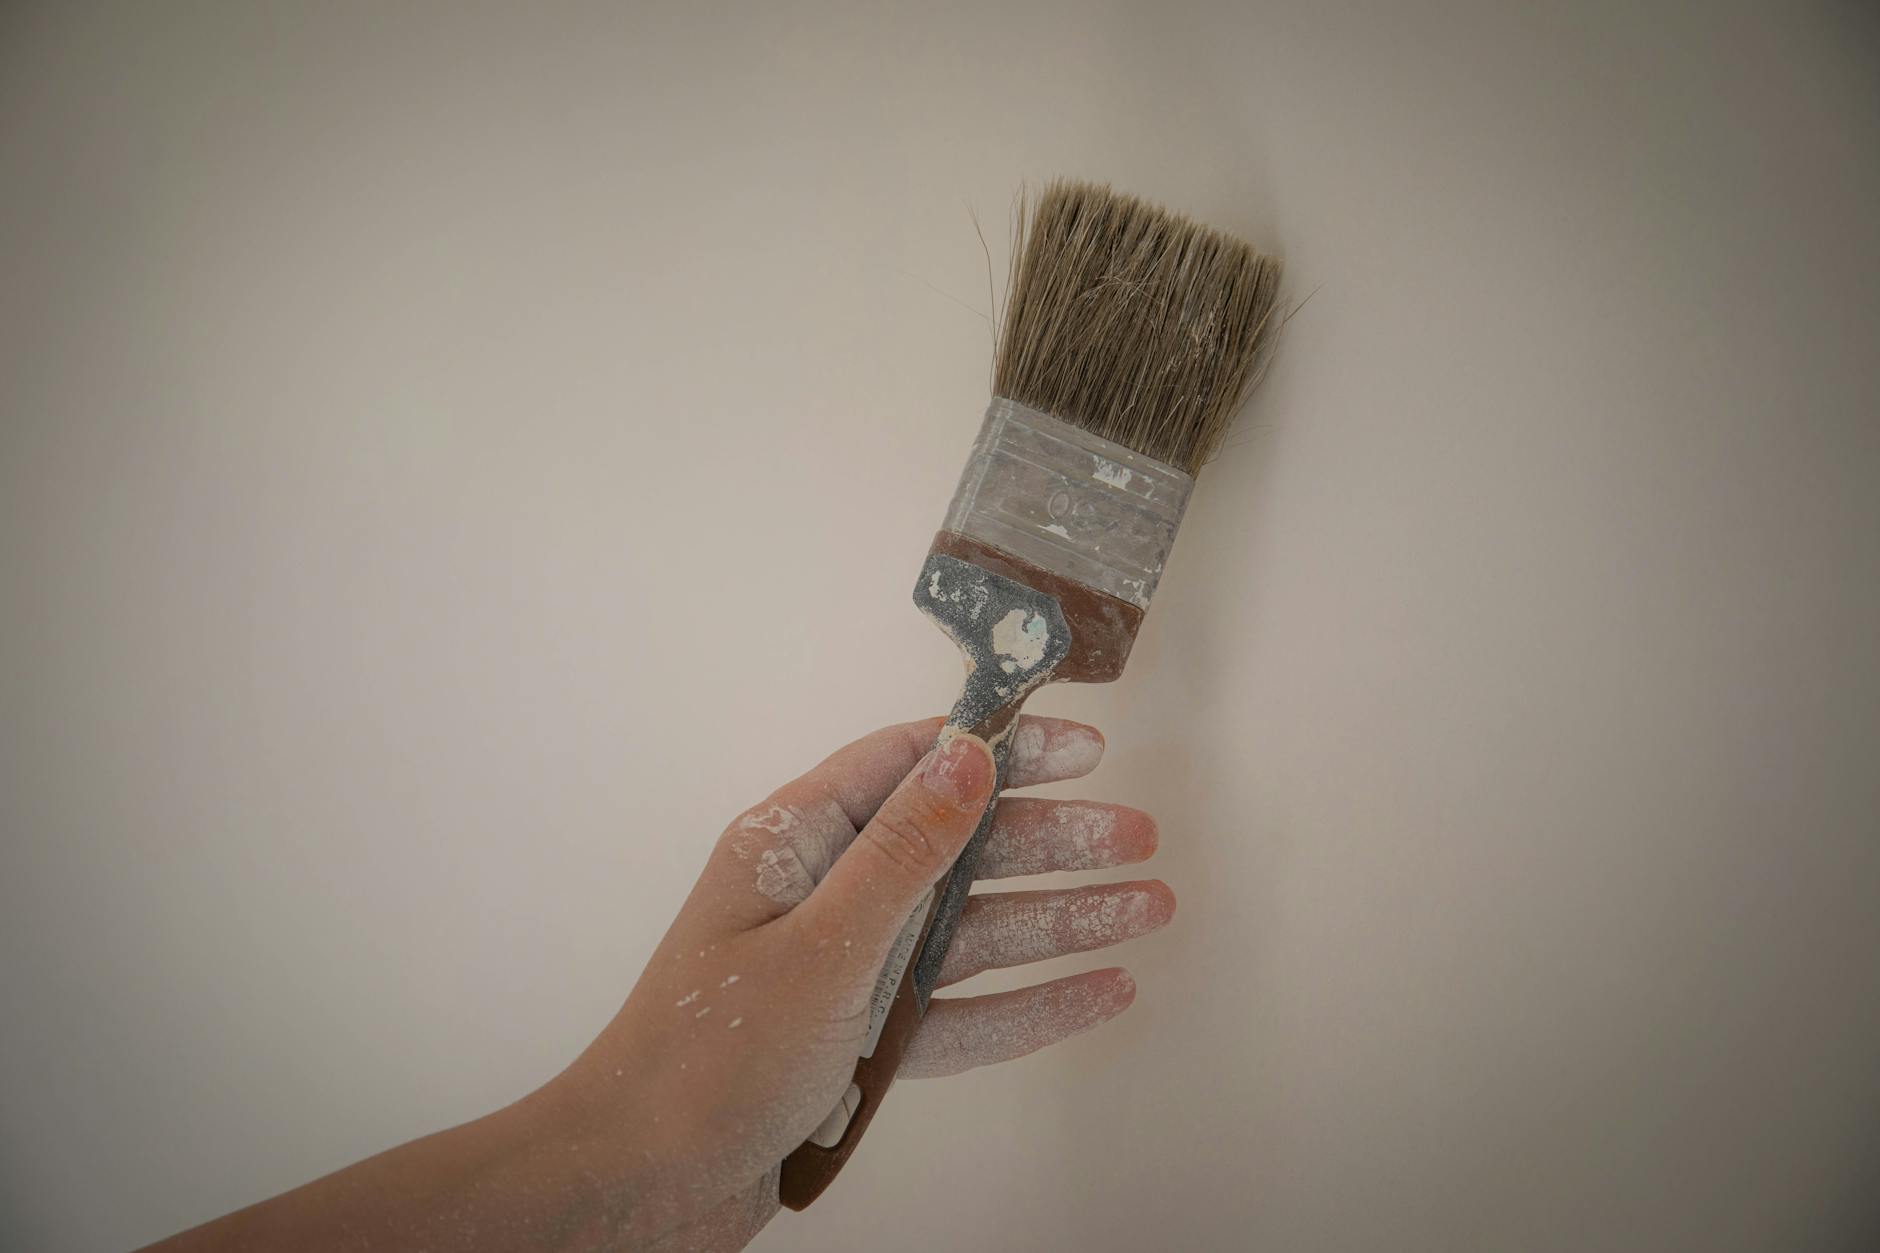
- Angled brush: A 2 to 2.5-inch angled sash brush for edges, with synthetic bristles for latex paint.
- Painter’s tape: Standard blue or green tape works for most jobs, and delicate-surface tape suits freshly painted or fragile walls.
- Roller tray or a 5-gallon bucket with a grid, drop cloths (canvas is sturdier than plastic and does not slip as much), a putty knife, spackle, and sanding sponge.
- Extension pole: Saves your back and reduces how often you climb a ladder.
For a broader starter kit, see the tools and materials you actually need for basic DIY.
Prep the walls properly
Prep takes up more time than painting and shows up more in the final look than any other step.
- Clear the room. Move furniture to the center and cover it, or out of the room if possible. Cover the floor with drop cloths.
- Remove outlet covers and switch plates. Do not paint around them. Keep your fingers out of the boxes, and switch off the room’s breaker first if you are unsure which circuits are live.
- Wash dirty areas. Use a sponge and mild dish soap in warm water, especially in kitchens and near light switches, where grease and hand oils block paint adhesion. Let the wall dry fully.
- Fill holes and dents. Press lightweight spackle into nail holes and small dings with a putty knife, scraping it flush. Deeper gouges may need two thin layers.
- Sand the patches smooth. Once dry, sand with 120 to 220 grit paper or a sanding sponge until the patch disappears when you run your hand across it. Wipe off the dust with a barely damp cloth.
- Caulk the gaps. Run a thin bead of paintable acrylic latex caulk along trim edges and cracks where the wall meets trim, smoothing it with a damp finger. Caulk shrinks and fills tiny gaps that otherwise show as dark shadow lines.
- Check for stains. Water stains, smoke, and marker bleed through regular paint. Spot-prime them with a stain-blocking primer. If a water stain keeps returning, there is a leak that needs fixing first, and that may be a job for a plumber or roofer.
Tape and prime where it counts
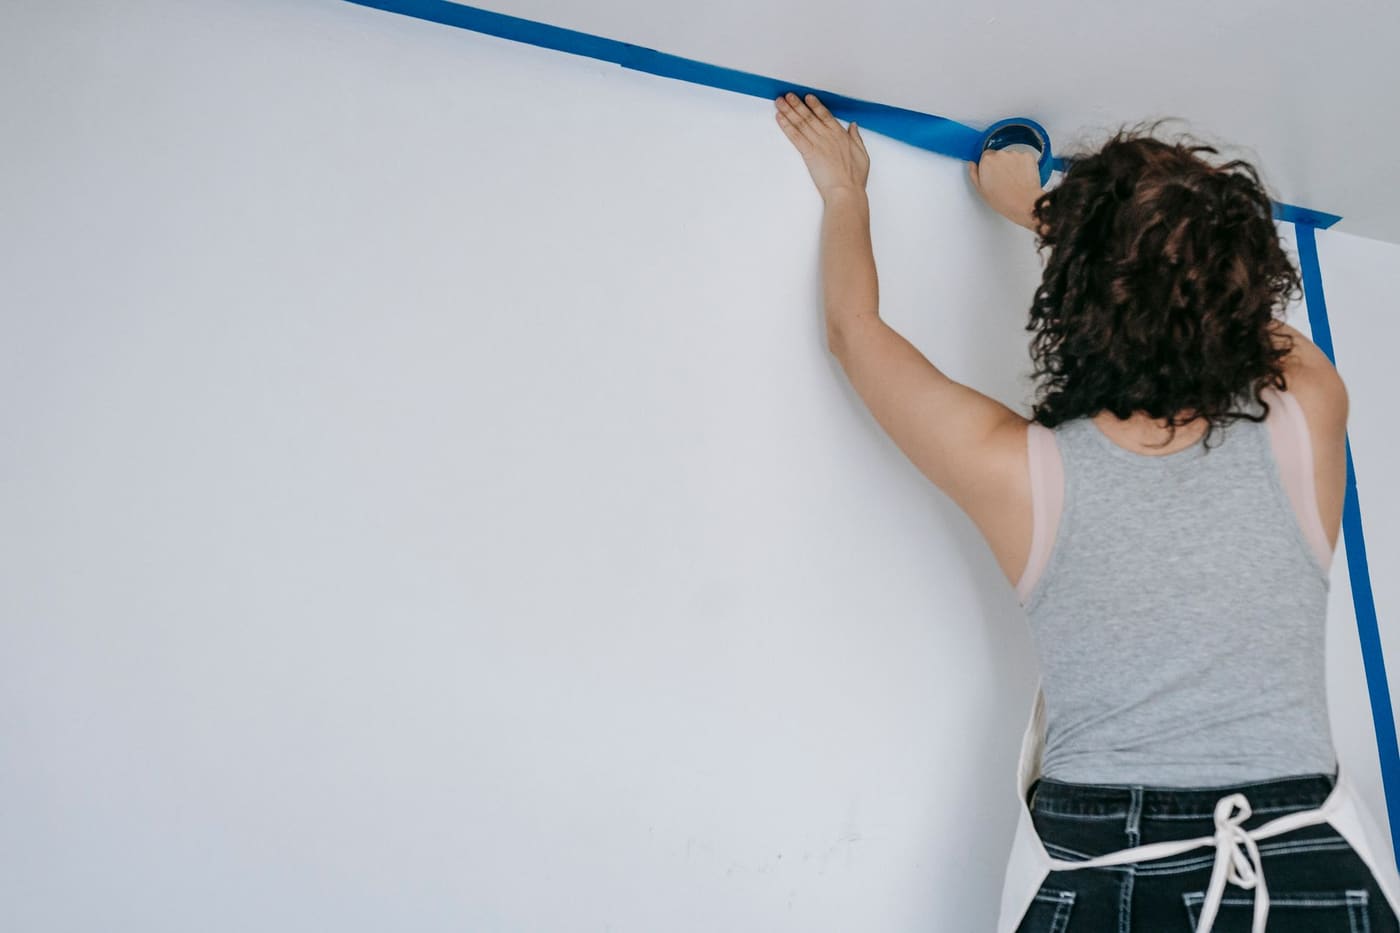
Tape the trim, ceiling line, and window frames with painter’s tape, pressing the edge down firmly with a putty knife or your fingernail so paint cannot creep under it. Many painters skip taping the ceiling and cut in freehand, but if you are new, tape helps.
Primer matters in specific situations:
- Fresh drywall or patched areas, which absorb paint differently from the rest of the wall
- A dramatic color change, such as covering dark red with a light neutral
- Glossy surfaces, after a light scuff sanding
- Stains and smoke or water marks
Many modern paint-and-primer products help with coverage, but they do not replace a real primer on bare drywall or heavy stains. Let primer dry for as long as the can says, which is often around an hour for latex.
Cut in, then roll in sections
Start with the edges. Dip the angled brush about one-third of the bristle length, tap off the excess, and paint a 2 to 3 inch band along the ceiling, corners, and trim. Work in sections about the size you can roll before the paint starts to dry.
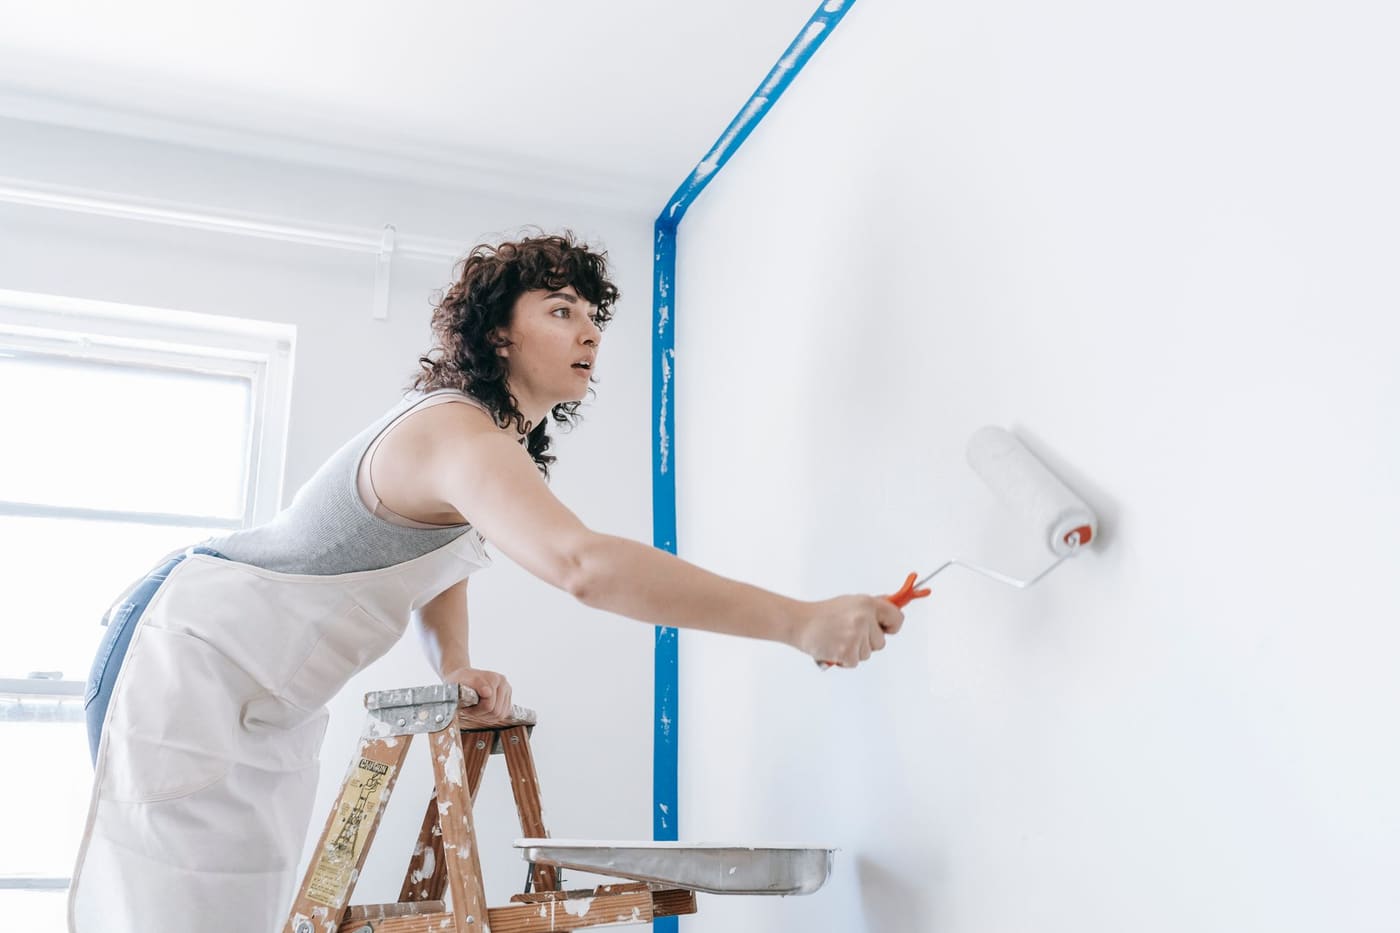
Then roll the walls before the cut-in edges dry, so the brush and roller marks blend. Rolling is where beginners often go wrong, so follow this routine:
- Load the roller evenly in the tray, rolling off the extra on the ramp so it is full but not dripping.
- Roll a large “W” or “M” about 3 feet across, then fill it in with straight up-and-down strokes.
- Overlap each pass by a few inches and always roll back into the wet edge, rather than starting on dry paint.
- Finish each section with a light, unloaded roll in one direction to smooth texture.
- Keep working in manageable sections from top to bottom, and finish one wall completely before taking a long break.
This “wet edge” method prevents lap marks, which are the darker bands where partly dry paint was rolled over. Work at a steady pace and avoid overworking paint that has begun to tack up. If you see streaks or patches after drying, the causes and fixes are covered in why paint can look streaky or patchy.
Pick the right sheen and a smart color
Sheen changes how forgiving the wall looks and how well it cleans.
| Sheen | Look | Best for | Notes |
|---|---|---|---|
| Flat or matte | No shine | Ceilings, low-traffic walls | Hides flaws, harder to scrub |
| Eggshell | Soft, slight glow | Living rooms, bedrooms | Common balance of look and washability |
| Satin | Gentle sheen | Hallways, kids’ rooms, kitchens | Easier to wipe, shows flaws more |
| Semi-gloss | Shiny | Trim, doors, bathrooms | Very washable, reveals every bump |
Test the color first. Buy a sample size and paint a roughly 2-foot square on the wall, or paint a sheet of poster board and move it around the room. Look at it in morning, afternoon, and evening light, since the same color can look very different. Warm bulbs shift colors yellow, and north-facing rooms often look cooler and grayer.
Apply two coats and finish carefully
Two coats of finish paint give a deeper, even color than one thick coat. Wait at least the time listed on the can before recoating, often 2 to 4 hours for latex, and a bit longer in humid or cold rooms. Painting over paint that is still soft can lift it and leave a rough texture.
Remove the tape while the final coat is slightly tacky, not completely dry. Pull it slowly at a 45-degree angle away from the wall. If the paint has dried hard and starts to peel with the tape, score the edge lightly with a utility knife first.
For cleanup, wash latex brushes and rollers in warm soapy water. Seal paint cans with a rubber mallet, store them out of freezing temperatures, and write the room name and date on the lid so touch-ups match later. Never pour leftover paint down the drain. Check local rules for disposing of paint, since many areas run collection programs or accept dried-out latex in regular trash.
Common mistakes that make a room look rushed
- Skipping the dust wipe after sanding, which leaves gritty spots in the paint
- Cutting in an entire room before rolling, which leaves dry edges that show as frames
- Using a cheap roller cover that sheds lint
- Painting in direct hot sun or a closed, humid room, which interferes with drying
- Pulling tape too late, or not pressing it down at all
- Overloading the roller and leaving drips and heavy texture
Plan the job before buying anything, using a checklist like the one in planning a DIY project before you start, so you account for drying times, cleanup, and a second trip to the store.
To work out how much paint to buy, use the paint quantity calculator.
Where this comes from
The lead-paint and respirator points come from the EPA’s lead-based paint and renovation guidance and from NIOSH and OSHA respirator guidance. The coverage figure, nap sizes, step order and recoat window are common painting practice and the can’s own instructions, which override anything written here. Product prices, paint coverage and local paint-disposal rules change, so check the label and your local waste authority.