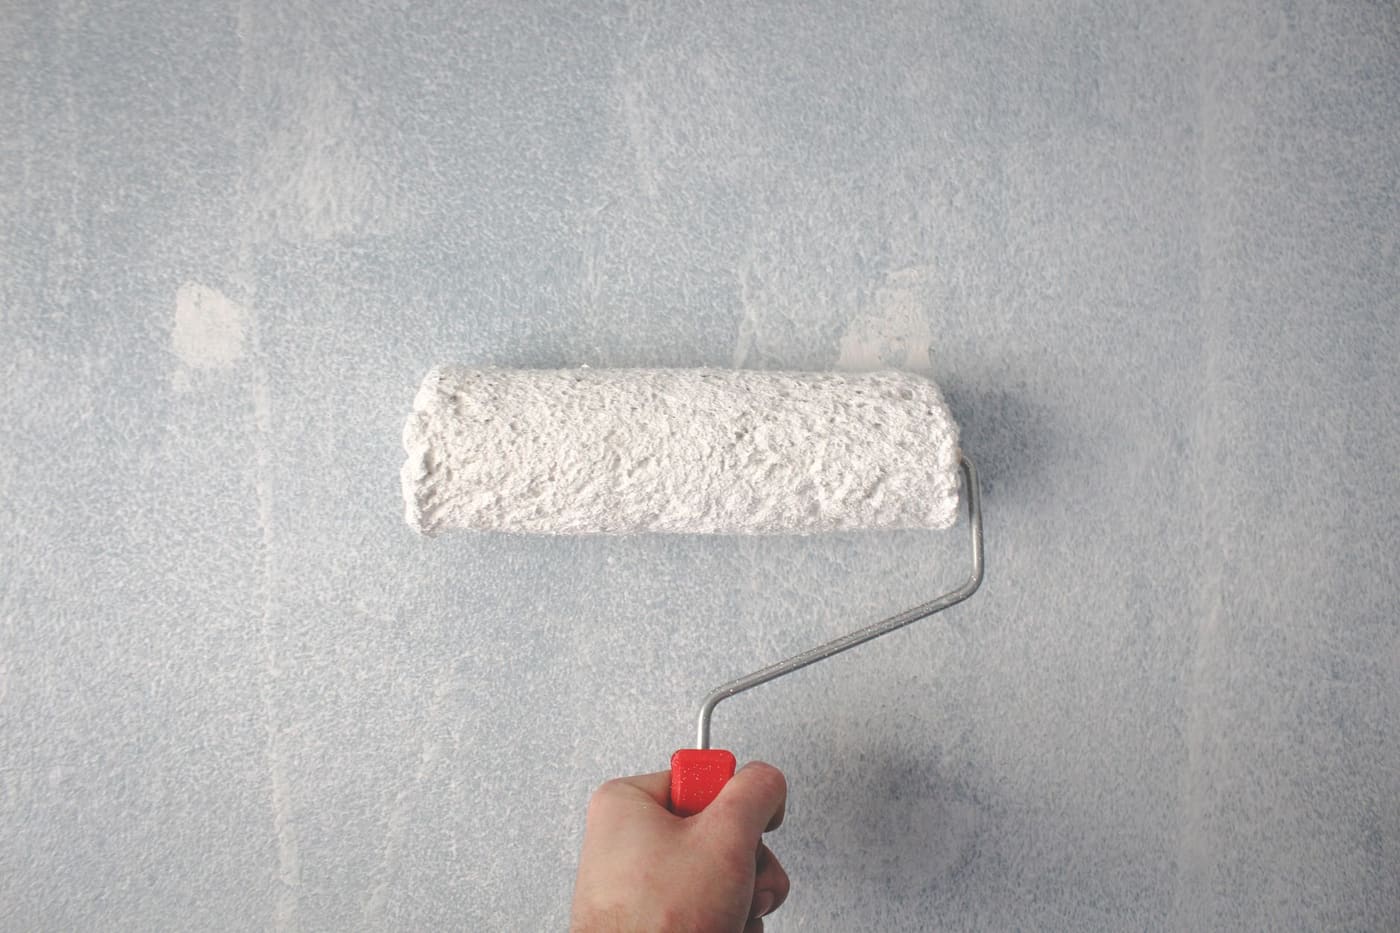
Paint looks streaky or patchy mainly for five reasons: the wall was not primed or prepped evenly, the coat was too thin, the roller was overloaded or dry, you rolled over paint that had started to dry (lap marks), or you cut in with a brush and rolled later so the edges differ in texture and sheen. Most of these are process problems that a second coat, correct technique, and a primer can fix.
Streaks and patches are usually repairable without stripping the wall, but the fix depends on which cause you have.
Diagnose the pattern first
Look at the wall in different light. Turn off the room lights and hold a bright flashlight or phone light at a shallow angle across the wall, a technique called raking light. It shows texture and sheen differences that you cannot see straight on.
| What you see | Likely cause |
|---|---|
| Darker or glossier patches where you patched holes | Spackle absorbs paint differently (flashing) and was not primed |
| Wide darker bands between roller passes | Lap marks from rolling over partly dry paint |
| Thin lines of see-through color, often vertical | Coat applied too thin, or the roller ran dry |
| Brush-textured edge along trim and corners | Cut-in edge dried before rolling, or different texture |
| Blotchy, uneven sheen over the whole wall | Uneven absorption, unprimed surface, or inconsistent technique |
| Original color showing through in streaks | Not enough coats for the color change |
| Ridges or stipple that look different between sections | Roller cover with the wrong nap, or too much pressure |
Match your wall to a row, then jump to the matching fix below.
Skipping primer on patches and bare surfaces
Spackle, joint compound, and bare drywall are much more porous than painted wall. Paint soaks into them faster, leaving a dull spot that shows through even after two coats. This is called flashing, and it is a leading cause of patchy-looking walls.
The fix is to prime. Spot-prime every patch with a quality primer before painting, or prime the whole wall when many areas were repaired. If you already painted and see dull spots, sand lightly, spot-prime the dull areas, let the primer dry for the time on the can, and repaint the whole wall section with a fresh coat to blend. Painting just the spot usually leaves a visible halo.
Primer is also needed for stains, such as water marks, smoke, or marker, which bleed through standard paint. If a water stain returns repeatedly, there is a leak that needs fixing first, possibly by a plumber or roofer.
Applying paint too thinly
Spreading paint thinner to save product causes translucent streaks. Most paints are formulated for a certain thickness, and a gallon covers around 350 to 400 square feet on a smooth wall under good conditions. Stretching it further leaves a thin film.
- Load the roller fully, then roll off the excess on the tray ramp so it is saturated but not dripping.
- Apply a visible, even layer, and do not try to “squeeze” more distance from each load.
- Plan two coats, especially for a major color change. Going from a dark color to a light one can take two coats plus primer, and a tinted primer helps.
- Buy enough paint, and keep the can closed between uses.
Cheaper paints tend to have less pigment and may need an extra coat, so a better paint can be economical.
Lap marks and drying too fast
Lap marks look like darker or shinier bands where one pass overlaps another. They happen when you roll fresh paint over paint that has already begun to set, so the layers do not blend.
Prevent them with the wet edge method:
- Work in manageable sections, usually about 3 to 4 feet wide, from ceiling to floor.
- Always roll back into the freshly painted edge, never start on dry paint.
- Keep a steady pace and do not stop partway across a wall.
- Finish each section with a light, unloaded roll in one direction.
- Avoid fiddling with paint that is tacky. Leave it and fix it on the next coat.
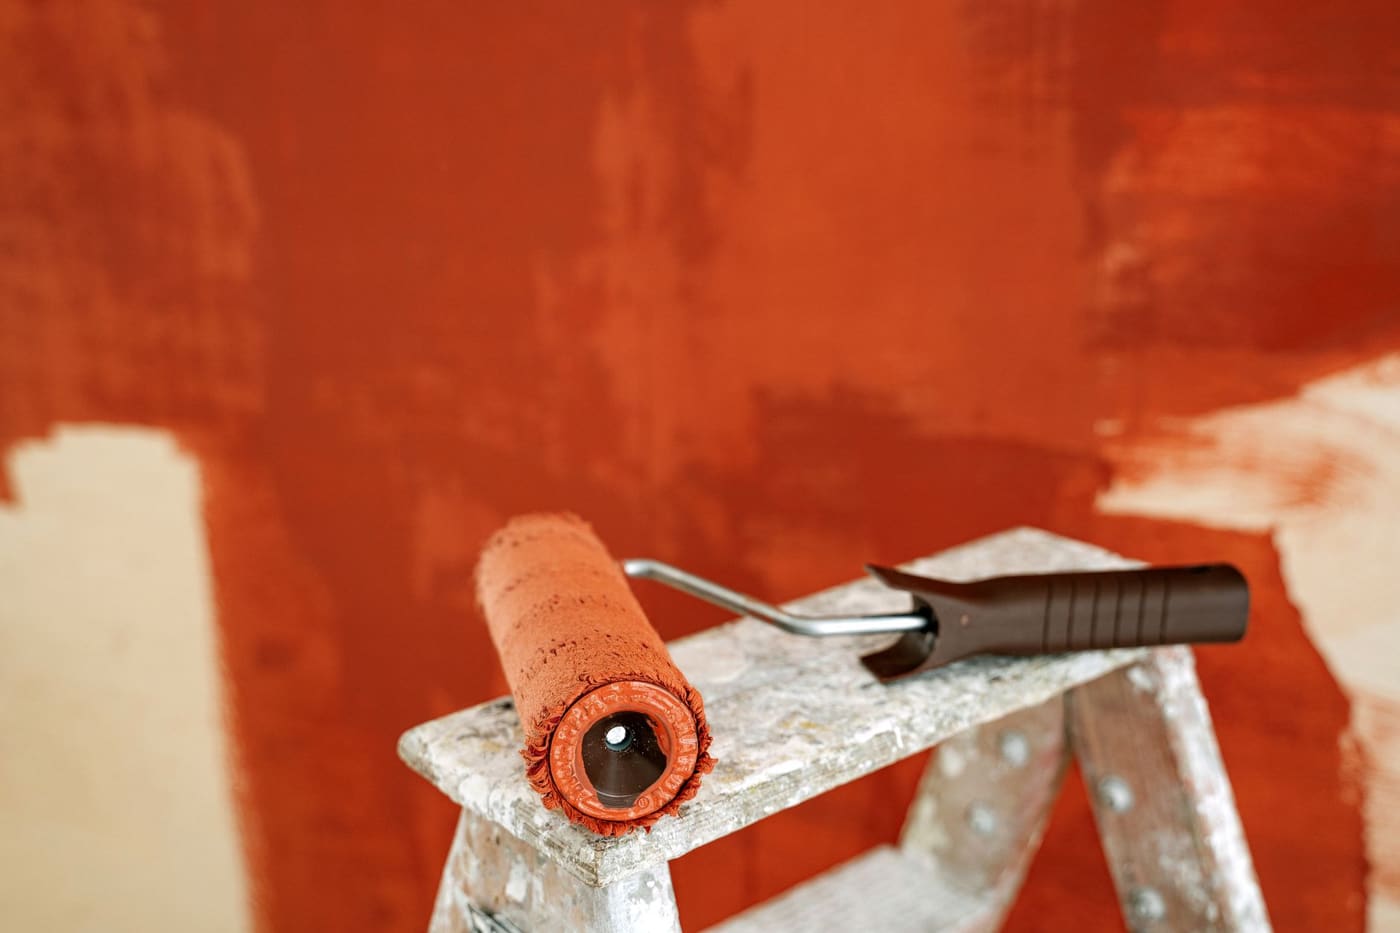
Hot, dry, or breezy conditions speed drying and encourage lap marks, so close windows during rolling and avoid direct sun or fans blowing on the wall. A paint conditioner or extender, added according to the product instructions, can slow drying a bit. For a step-by-step method, see how to paint a room so it actually looks good.
Roller problems
The tool matters more than most people expect.
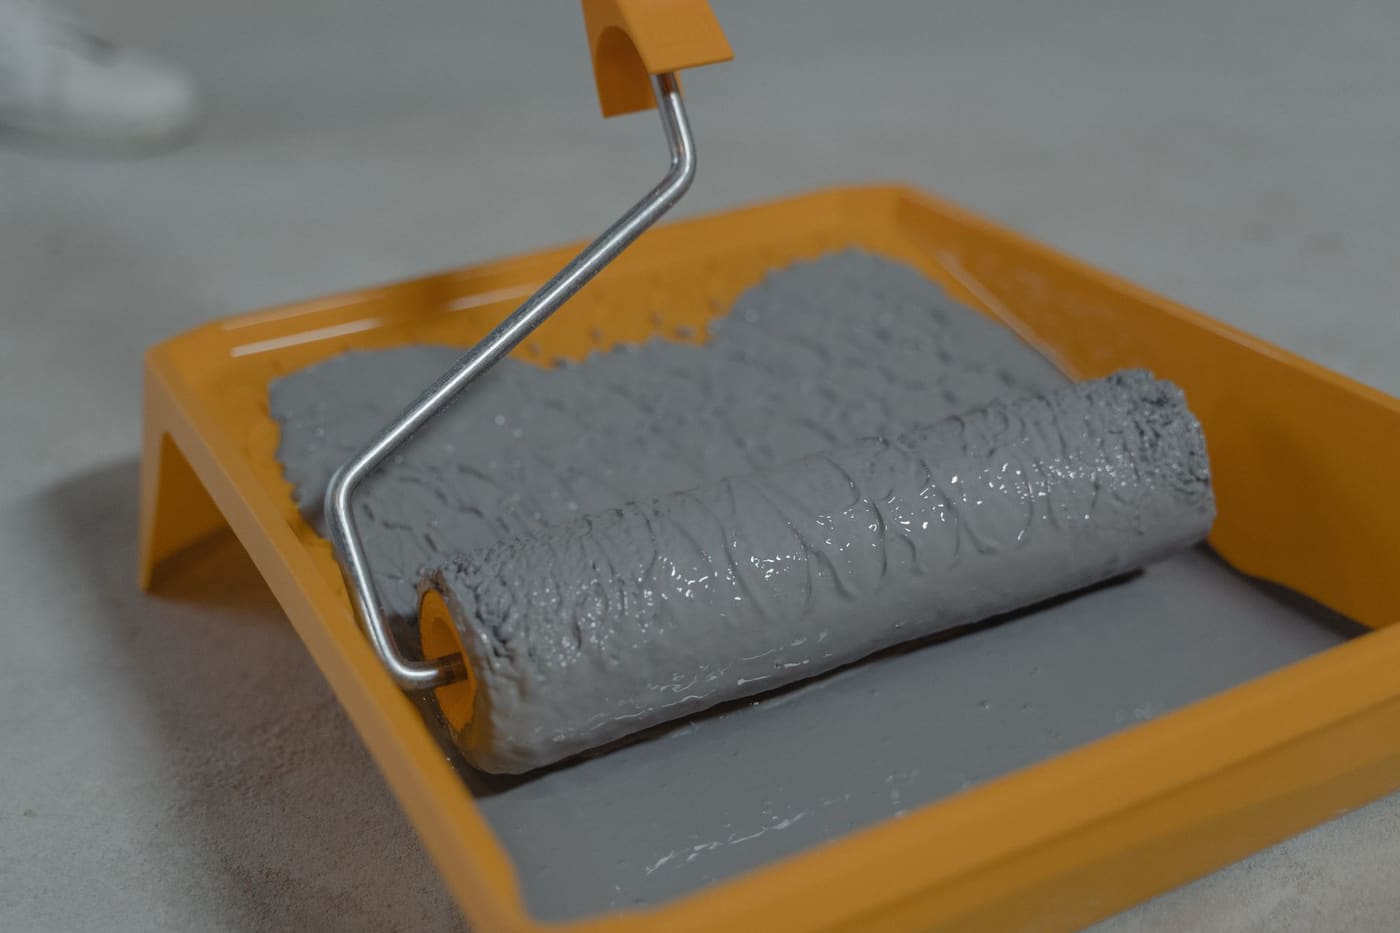
- Nap length: Use a 3/8-inch nap on smooth walls and 1/2 to 3/4 inch on textured ones. A nap that is too short on rough walls misses valleys, and one that is too long on smooth walls leaves heavy stipple.
- Cheap covers: Low-quality covers shed lint and hold less paint, so the finish looks rough. New covers also need to be rinsed or taped with a lint remover before use.
- Dirty or dry rollers: A roller that has run low on paint leaves patchy streaks. Reload often.
- Too much pressure: Pressing hard squeezes paint out unevenly. Let the roller do the work.
- Cheap or worn trays and frames: A wobbly frame causes uneven pressure.
A 9-inch roller with a quality cover and an extension pole is a modest investment. The tools and materials you actually need for basic DIY covers a basic painting kit.
Cutting in and rolling out of sync
Edges painted by brush look different from the rolled area because brush marks have a different texture and, on sheen paints, a different shine. This produces a visible “frame” around the wall and trim.
To blend it:
- Cut in a section, then roll that section right away, overlapping the brushed edge so the paint blends while wet.
- Do not cut in the entire room and come back to roll an hour later.
- Brush with a light touch, and finish the edge with a short roller pass close to the corner. A small trim roller helps near the ceiling line.
- Use a good angled brush with synthetic bristles for latex paint.
Lighting, sheen, and what is really an optical illusion
Sometimes the paint is fine and the light is the problem. Walls with flat paint hide flaws, and higher sheens such as satin and semi-gloss highlight every bump, patch, and roller texture. Light from windows hits the wall at an angle and exaggerates tiny differences, especially in the morning and late afternoon.
If the wall looks fine in the middle of the day and bad at dusk, it may be an unevenness issue that only shows up in raking light. Choose a flatter sheen to hide minor flaws, such as eggshell or matte in living areas. Test your result in different light before deciding to repaint, and let the paint cure fully. Some paints look slightly different when wet than when fully dry, and they can take days to harden.
Surface issues that cause patchy results
Clean walls hold paint evenly, and dirty ones do not.
- Grease, dust, and hand oils prevent adhesion. Wash kitchens, bathrooms, and areas near switches with a sponge and mild dish soap in warm water, rinse, and let dry fully.
- Glossy surfaces need a light scuff sanding so paint can grip.
- Humidity and cold slow curing and can cause blotchiness. Aim for the temperature range on the can, often roughly 50 to 85 degrees Fahrenheit, and avoid painting in very humid conditions.
- Mixed batches: If you use several cans of the same color, mix them together in a large bucket, a step called boxing, so slight batch differences do not show.
Ventilate while painting. A dust mask or N95 does not stop paint or solvent vapors; NIOSH guidance calls for a half-mask respirator with organic vapor cartridges and particulate filters. If your home was built before 1978, the old paint may contain lead. The EPA advises against dry sanding or scraping it, so before you sand a wall to fix streaks, have a certified lead inspector or risk assessor confirm it is lead-free, or use wet methods and lead-safe practices.
How to fix a streaky or patchy wall
- Let the paint dry fully, at least 24 hours or the time on the can.
- Inspect with raking light and mark problem spots with a pencil.
- Sand lightly with 220 grit to knock down ridges and drips, then wipe off dust.
- Spot-prime any flashing or exposed patches.
- Apply a fresh full coat to the entire wall, from corner to corner, using the wet edge method. Touching up spots without recoating whole sections usually leaves a visible patch.
- Check again after drying and apply another coat only if needed.
Before you repeat any job, a written plan helps with timing and supplies, and planning a DIY project before you start explains how to build one.
To check you bought enough paint for the coats you need, try the paint quantity calculator.
Where this comes from
The lead-paint and respirator points come from the EPA’s lead-based paint guidance and NIOSH respirator guidance. The causes, nap sizes, coverage figure and fix sequence reflect common painting practice and manufacturers’ can instructions, which override anything written here. Product coverage, drying times and temperature ranges differ by paint, so check the label.