
To plan a DIY project, write down the finished result, list every step in order, price the materials and tools with a cushion of 10 to 20 percent, estimate the time for each step including drying and waiting, and decide in advance which parts you will hire out or skip. A one-page plan takes 30 to 60 minutes to write and often saves hours of backtracking and several unplanned store trips.
Most DIY trouble is not a lack of skill. It is discovering halfway through that you need a tool you do not own, that the wall behind the tile is damaged, or that the paint has to dry overnight before the next step. Planning moves those discoveries to the beginning, when they cost nothing.
Define the finished result in one sentence
Start with what “done” looks like, in specific terms. “Update the bathroom” is not a plan. “Replace the faucet, re-caulk the tub, and paint the walls a light gray” is. The sentence sets the boundary for the whole project and protects you from scope creep, where a simple job quietly grows into a renovation.
Add three details to that sentence:
- The area or item involved: which room, wall, or fixture.
- The quality bar: a fresh look for resale, a quick refresh, or a long-lasting repair.
- The deadline, if any: a family visit, a lease end, or a season, such as finishing exterior work before cold weather.
If the sentence has more than three or four actions in it, the project is probably several projects. Consider splitting it up, as discussed in how to tell if a project is too big for a weekend.
Inspect before you commit
Many projects hide problems that change the scope. A short inspection before you buy anything is cheap insurance.
- Look for moisture. Stains, soft spots, bubbling paint, or a musty smell mean water is getting in. Fix the source first, because painting or tiling over a leak wastes the work. If you see widespread mold or the leak is inside walls, call a professional.
- Test for hazards in older homes. Houses built before 1978 may have lead paint, and older flooring, ceiling texture, and insulation can contain asbestos. The EPA says asbestos cannot be identified by eye and needs laboratory testing of a sample taken by a trained, accredited professional, and that lead paint is best confirmed by a certified inspector or risk assessor. Do not sand, scrape, or demolish suspect materials until you know, and hire a lead-safe certified renovator or licensed abatement professional if the results are positive.
- Find what is behind the work. Use a stud finder to locate framing, and treat any wall you plan to cut or drill deeply as possibly holding wiring or pipes.
- Measure twice and record it. Write down wall lengths, ceiling height, window and door sizes, and fixture dimensions. Take photos of anything you plan to replace, including labels and model numbers.
If the inspection turns up electrical, gas, structural, or major plumbing issues, those jobs belong to licensed professionals. Local codes and permit rules vary, so check with your building department before you start any work beyond cosmetic updates.
Break the project into ordered steps

Write every step on paper or in a notes app, then put them in the order they must happen. The right sequence usually follows one rule: work from messiest and highest to cleanest and lowest, and finish structural or hidden work before cosmetic work.
A painted room, for example, typically runs like this:
- Clear furniture and protect floors.
- Repair holes, cracks, and water damage.
- Sand patches and clean walls.
- Caulk gaps and tape edges.
- Prime where needed.
- Paint the ceiling, then the walls, then the trim.
- Remove tape, reinstall plates, and clean up.
Doing the steps out of order is a common mistake. Painting before the patching is fully sanded, or installing baseboard before the floor is finished, creates rework. Number your steps and mark which ones need waiting time so you can slot them across several days. For paint specifically, the room-painting walkthrough lists the standard order.
Build a realistic budget
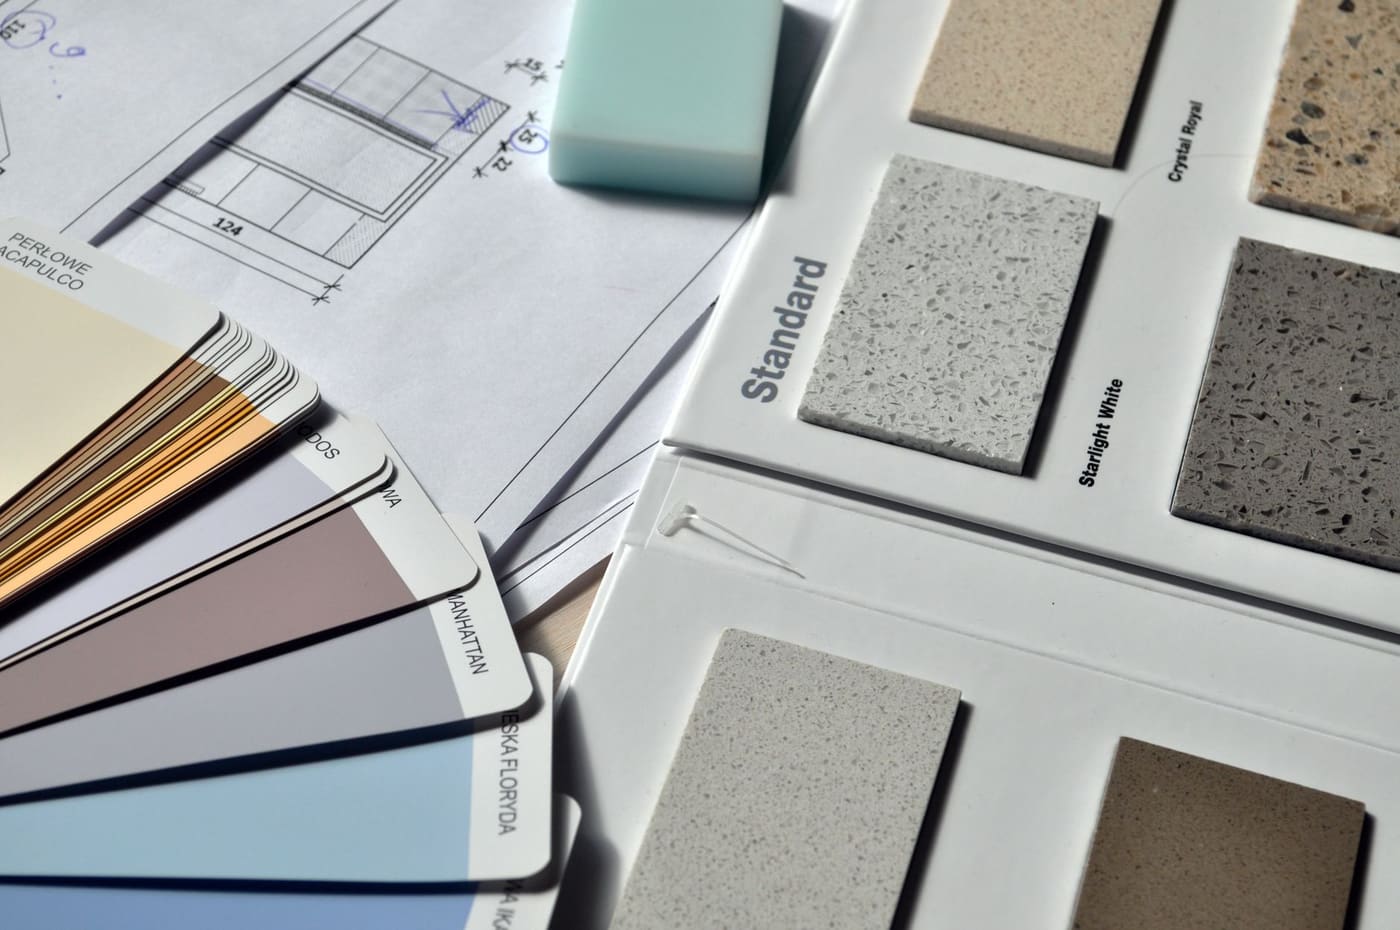
A budget has three parts: materials, tools, and a buffer.
Materials. Count quantities carefully, then add 10 percent for waste on most items and 15 percent or more on diagonal tile or complicated cuts. Ask what each item is called at the store, since the wrong screw, anchor, or paint type is a frequent cause of failure.
Tools. List every tool you need, then mark what you own, what you can borrow, what you can rent, and what you must buy. Rental of specialty tools, like a tile saw, floor sander, or carpet stretcher, is charged by the day or half day. Buying a tool you will use once is usually worse than renting. For guidance on which tools justify real money, see what to buy cheap versus invest in.
Buffer. Add 15 to 25 percent to the total for surprises such as a damaged board, a part that does not fit, or an extra coat of primer.
A simple table keeps the numbers visible:
| Item | Quantity | Unit cost | Total | Own, borrow, rent, or buy |
|---|---|---|---|---|
| Paint (interior) | 2 gallons | $35 | $70 | Buy |
| Primer | 1 gallon | $25 | $25 | Buy |
| Roller, brush, tape | 1 set | $25 | $25 | Buy |
| Ladder (step) | 1 | n/a | $0 | Borrow |
| Buffer (20%) | n/a | n/a | $24 | n/a |
The prices in the table are made-up examples to show the layout, not quotes. Use local prices from the store.
Estimate time with waiting built in
Time estimates fail most often because people count only hands-on work. Add three more kinds of time:
- Waiting time: paint between coats (often 2 to 4 hours for latex), joint compound (commonly 24 hours per coat), thinset before grout (often 24 hours), and caulk before water contact (often 24 hours or more). Always check the product label.
- Setup and cleanup: moving things, laying drop cloths, washing tools, and disposing of waste.
- Learning curve: a first attempt often takes 50 to 100 percent longer than an experienced person would need.
Add up the hours, then add 25 percent. If the number does not fit into the time you have, either move the deadline, cut the scope, or split the work into stages that each leave the space usable.
Gather everything before you start
A plan is not complete until you have the stuff. Buy materials at least a few days early, and unpack and check them against your list. Wrong sizes, missing parts, and damaged goods are much easier to deal with on a Tuesday than at 4 p.m. Saturday.
Before day one, do this:
- Match every tool and material to a step on your list.
- Confirm the paint color, finish type, or fastener size.
- Check that tool batteries are charged and blades are sharp.
- Gather safety gear: safety glasses, work gloves, a dust mask or respirator rated for the task, and hearing protection for loud tools.
- Clear the workspace and have somewhere to store tools between sessions.
Check the weather if the work is outdoors or needs open windows, and make sure that a ladder is the right height and stable. OSHA’s ladder guidance says to keep three points of contact, keep your body inside the side rails, stay under the ladder’s load rating (your weight plus tools and materials), and not use the top step or top cap as a step. Set the ladder on firm, level ground. For high or steep work, hire a pro.
Decide your stopping points and escalation rules
Good plans include what you will do if things go wrong. Before you start, set two rules.
A stop rule. For example: “If I find water damage or mold behind the wall, I stop and call a professional.” Or: “If a step takes more than twice my estimate, I pause and reassess.”
A hire-a-pro list. Mark any step that involves electrical panels or new circuits, gas lines or appliances, structural walls, roofing, or permit-required work. These are not DIY steps for most people, and mistakes can cause fire, injury, or expensive damage. A licensed professional also provides an inspection or warranty that can matter when you sell.
If you are new to DIY, choose a first project with low risk and a clear finish line. Starting DIY without getting in over your head can help with that choice.
To add a budget and time buffer to your plan, use the DIY project planner.
Where this comes from
The ladder points come from OSHA’s portable ladder safety guidance, and the lead and asbestos points from the EPA’s guidance for homeowners and renovators. The budget buffers, time buffers and step ordering are common planning practice rather than published standards. Prices, rental rates and permit rules change and differ by area, so check them with the store, the rental counter and your local building department.