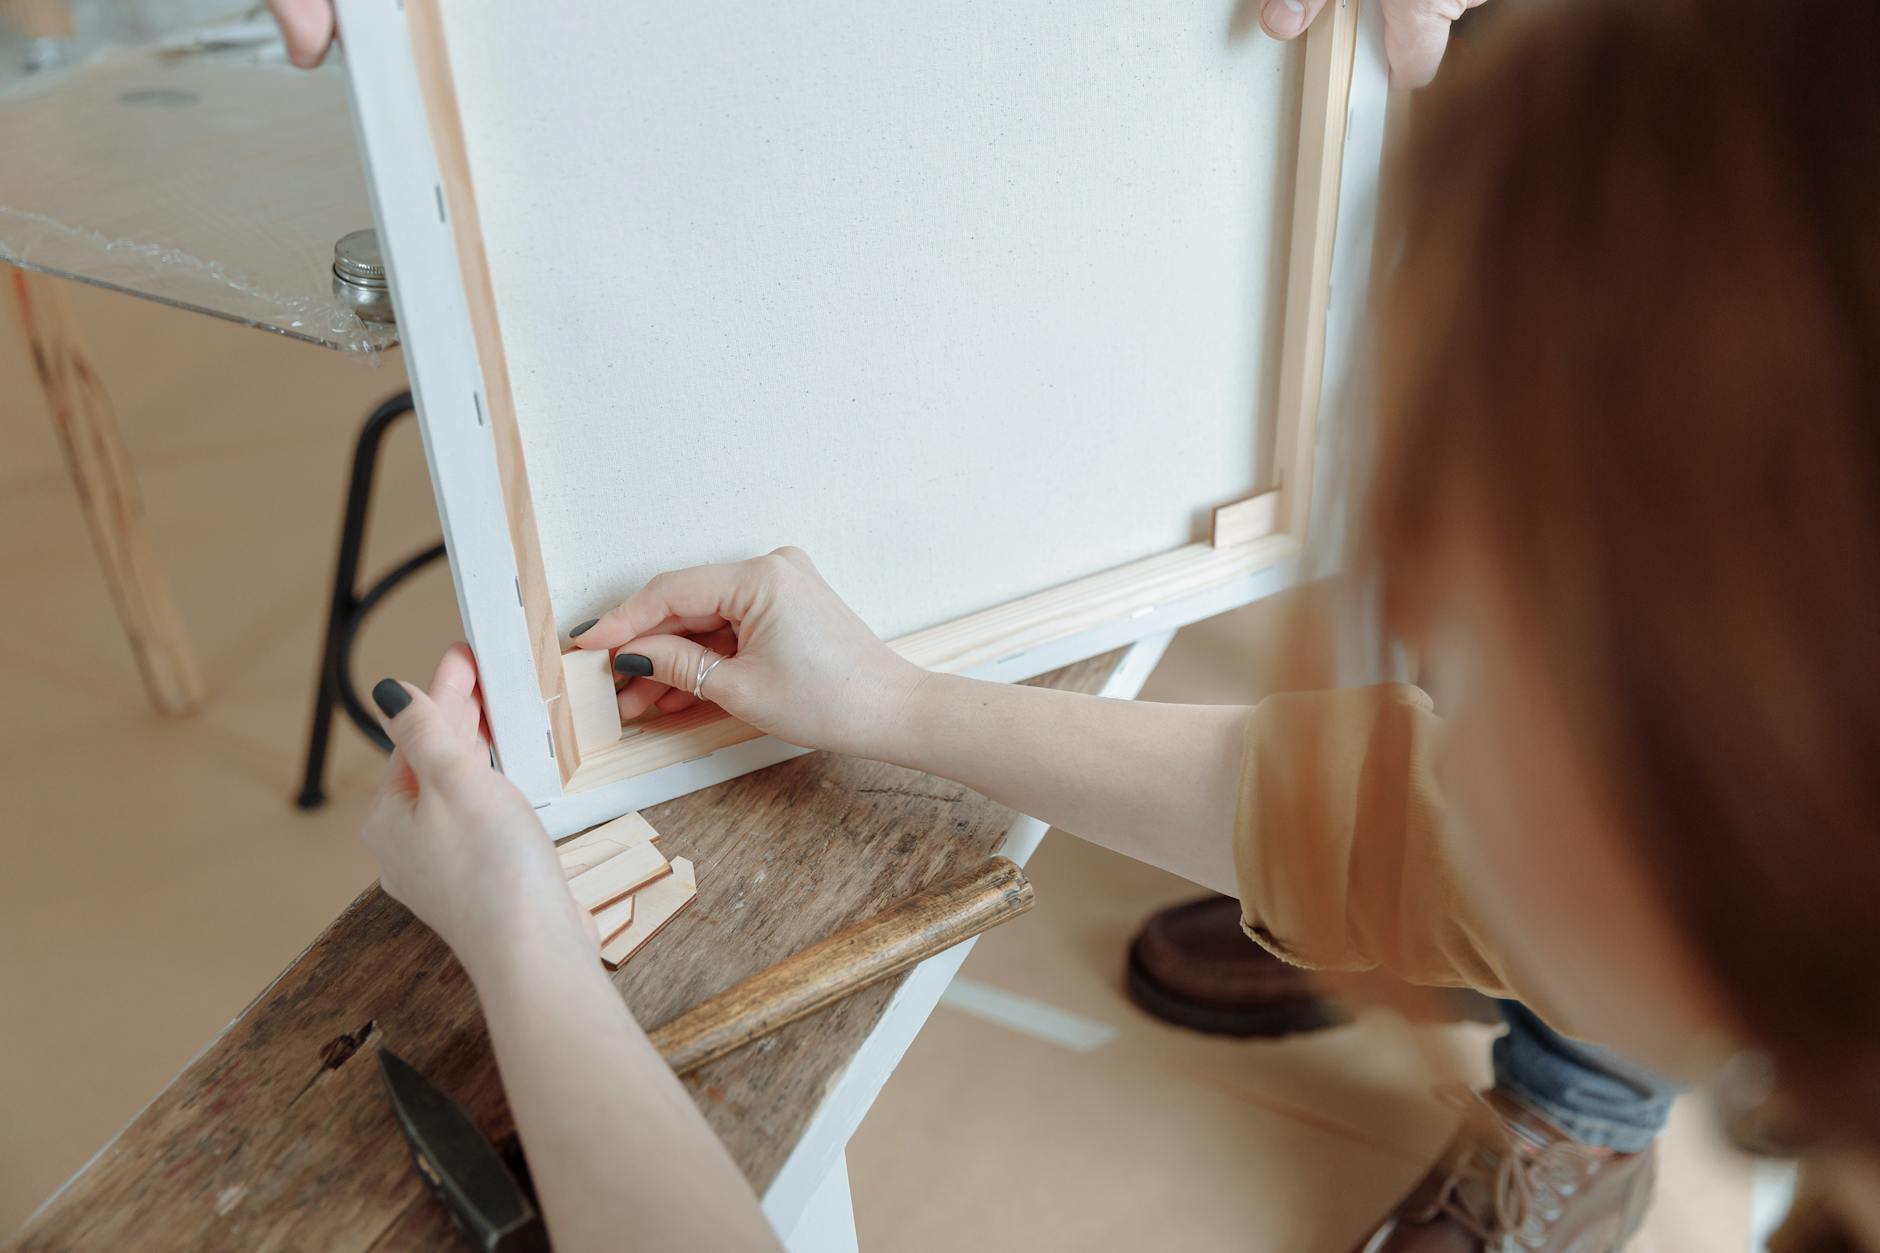
Start with a small, low-risk project that has a clear finish line, is cheap to redo, can be finished in a few hours, and can be undone if it goes wrong. Painting a small room, hanging shelves, swapping cabinet hardware, replacing a toilet seat, or re-caulking a sink are good first jobs. Leave anything involving electrical wiring, gas, structural walls, or major plumbing to a licensed professional.
Getting in over your head usually means one of three things: the job turns out to need skills you do not have, a hidden problem doubles the scope, or a mistake leaves your home unusable or unsafe. The approach below keeps the stakes low while you build experience.
Choose projects by risk, not by excitement
The projects you want to do and the projects you should start with are often different. A useful way to sort them is by what happens if you get it wrong.
| Risk level | Examples | If it goes wrong |
|---|---|---|
| Low | Painting, hanging a mirror, changing cabinet pulls, adding shelf liners, caulking | Redo it or cover it up |
| Medium | Installing a faucet or showerhead, hanging heavy shelves into studs, laying peel-and-stick tile, basic trim | Possible leak or damage, fixable with effort |
| High | New electrical circuits, gas lines, load-bearing walls, roof work, major plumbing, removing walls | Fire, injury, flooding, structural damage, insurance trouble |
Start in the low category. Move to medium after you have finished three or four low projects, and treat high-risk work as professional work. A licensed electrician, plumber, or contractor brings training, insurance, and permits, and their work is often required by local code. Rules vary by area, so check with your local building department about what needs a permit.
Pick a project with a clear finish line
Vague projects like “fix up the bathroom” drift forever. Good first projects have an obvious end point you can check off.
Look for these traits:
- Short: 2 to 6 hours of actual work.
- Contained: One room or one item, not the whole house.
- Reversible or fixable: You can redo a bad paint line, but you cannot un-cut a board.
- Cheap to fail: If you ruin the materials, the loss is small.
- Common: Plenty of standard parts and well-known methods exist.
Good candidates include painting a small room, installing a curtain rod, assembling and anchoring furniture to the wall, replacing a showerhead, patching small nail holes, and refreshing caulk around a tub. For ideas with real visual payoff, see small home projects that give the best payoff.
Read the whole process before you buy anything
Many headaches come from discovering the middle steps too late. Before you spend money:
- Read or watch the full process from start to finish, not just the exciting part. Note every step, tool, and waiting period.
- Look for what goes wrong. Search for common mistakes with that specific task and read what people struggle with.
- Check the manufacturer’s instructions on any product you buy. Drying times, temperature ranges, and surface requirements are printed on the label or in the box.
- Count the steps you have never done. One new skill is fine. Three new skills in one project is a warning.
Then write the steps in order on a single page. A full planning routine is covered in how to plan a DIY project before you start, including budgets and sequencing.
Buy only what the first project needs
New DIYers often make the same mistake: they buy a huge tool set before knowing what they will use. A better approach is to build your kit one project at a time.
A solid starting set includes:
- A 25-foot tape measure
- A 2-foot level (or a smaller torpedo level)
- A cordless drill/driver with a basic bit set
- A multi-bit screwdriver or a few Phillips and flathead screwdrivers
- A claw hammer
- A utility knife with spare blades
- A stud finder
- Safety glasses and work gloves
- A small assortment of screws and wall anchors
Skip specialty tools until a project demands them, and rent or borrow expensive ones. The detailed list, with notes on materials like fillers, anchors, and tape, is in the tools and materials you actually need for basic DIY.
Use safety habits from day one
Most small-project injuries have basic causes: skipped eye protection, a poor ladder setup, or a rushed cut.
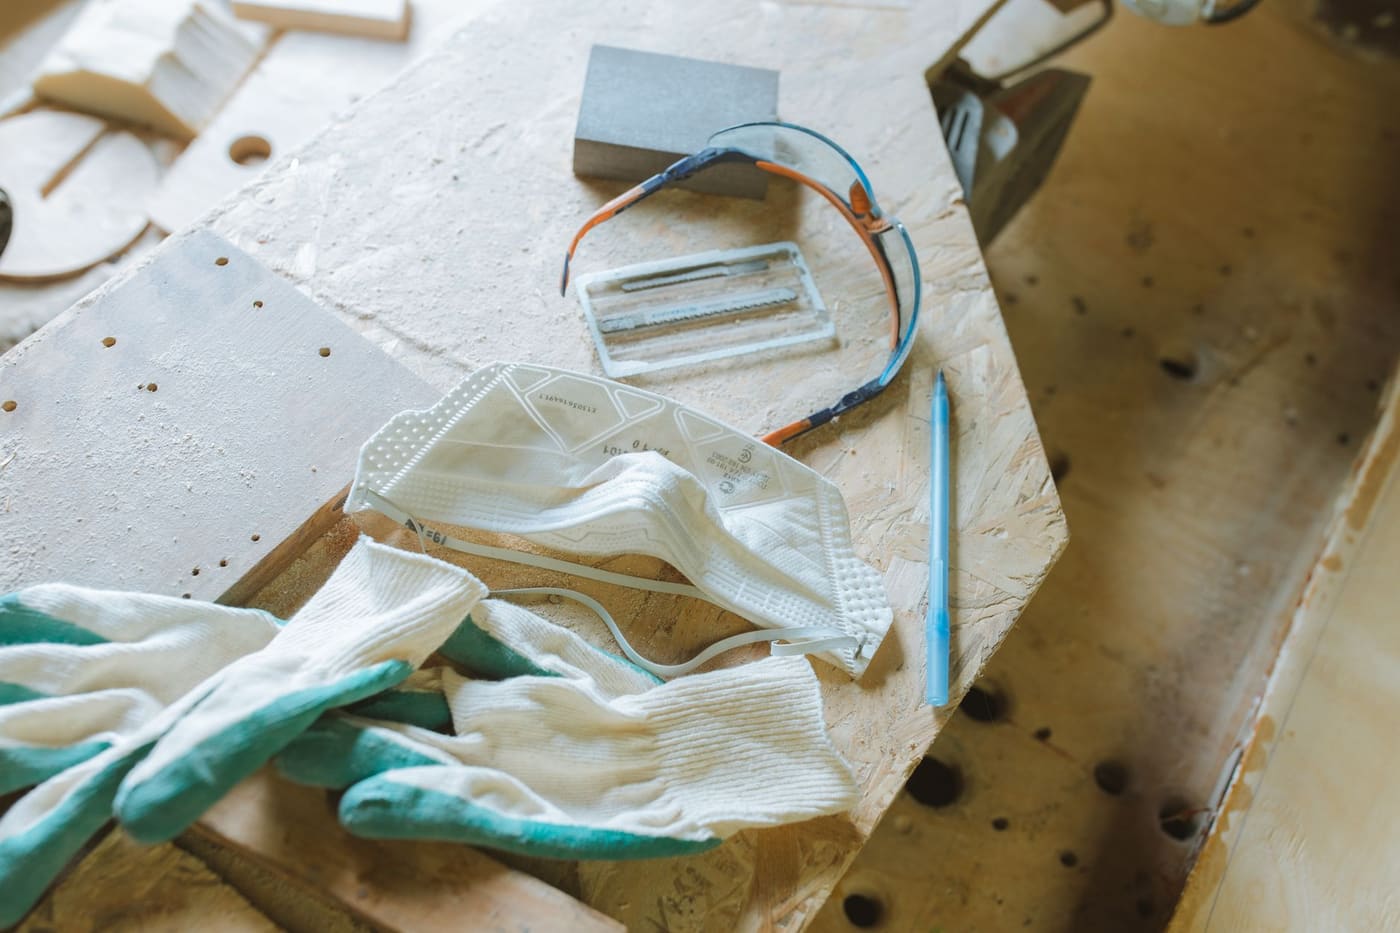
- Wear safety glasses whenever you cut, drill, sand, or hammer. Eye injuries happen fast.
- Use a dust mask or respirator when sanding, and ventilate any room where you use paint, stain, or solvents. A dust mask or N95 does not stop vapors; NIOSH guidance calls for organic vapor cartridges for paint vapors.
- Protect your hands with gloves for rough materials and chemicals, but remove loose gloves and jewelry near spinning tools.
- Use ladders correctly. OSHA’s ladder guidance: place the ladder on firm, level ground, keep three points of contact, keep your body inside the side rails, stay within the load rating including tools, and never use the top step or top cap. For anything above a standard step ladder, call a pro.
- Check before you drill or cut walls. Pipes and wires can hide behind the surface. A stud finder with a live-wire detection mode can sometimes flag energized wiring, but it can miss wires and never detects pipes, so it is not a guarantee that a spot is safe to drill. Avoid drilling near outlets, switches, and walls that share a bathroom or kitchen wet wall.
- Do not mix cleaning chemicals. Never combine bleach with ammonia or acids, since this can create toxic gas. Read labels and ventilate.
- Check older homes first. Houses built before 1978 may contain lead paint, and older materials can contain asbestos. The EPA advises against dry sanding or scraping suspect paint, and says asbestos can only be confirmed by laboratory testing. Do not sand or demolish suspect material until you know.
Do a test run on a small, hidden area
Practice where mistakes do not show. Try the paint on a scrap board or a closet wall. Drill a pilot hole in a piece of scrap wood before you drill the real one. Cut your caulk bead on a piece of cardboard first.
A test run also checks that the product behaves as expected. A paint sample can look different from the chip, and a stain can go much darker on one wood than another. The few minutes you spend practicing catches color, fit, and technique problems while they are still cheap.
Build in checkpoints and a way out
Break the project into short stages and stop to check your work at each one. Look at it in different light, step back and view it from a distance, and confirm measurements before making irreversible cuts or holes. “Measure twice, cut once” is advice that has lasted because it works.
Set a quit rule before you start. Decide ahead of time what makes you stop and bring in help:
- You find water damage, mold, or rot behind a surface.
- You discover wiring, gas piping, or unexpected framing where you plan to cut.
- A step takes more than double your estimate.
- You feel unsure whether a step is safe.
Hiring help is not failure. A handyperson can finish a stuck job, and that often costs less than repairing a mistake. Rates vary widely by area, so get a quote first.
Learn from each project and move up gradually
After each job, spend five minutes writing down what took longer than expected, what you would buy differently, and what you would skip. Keep the notes with your tools. Over a few projects, you build a personal reference that is better than a general list.
Increase difficulty in small steps. After painting a room, try trim or an accent wall. After hanging shelves, try a wall-mounted TV bracket into studs. Each step adds one new skill instead of five at once. If a project looks bigger than you expected, check whether it fits a weekend before you commit.
Before you start, run through the tool and safety checklist.
Where this comes from
The ladder points follow OSHA’s portable ladder guidance, the lead and asbestos points follow the EPA’s guidance for homeowners, and the respirator point follows NIOSH respirator guidance. The risk tiers, project suggestions and stop rules are common-sense practice rather than a published standard. Tool prices, handyperson rates and permit rules change and differ by area, so check them locally.